
How to Make Cold Foam at Home (No Fancy Machine Needed)
how to make cold foam
How to Make Cold Foam at Home (No Fancy Machine Needed)
Okay, real talk. I used to think cold foam was some kind of coffee shop wizardry. Like, surely you need a machine the size of a microwave to get that thick, cloud-like layer sitting on top of your iced coffee, right?
Nope. Genuinely, it’s one of the easiest things I’ve ever made in my kitchen. Took me one failed attempt (more on that later, it’s a bit embarrassing) and then I basically had it down.
Let’s get into it.
What Even Is Cold Foam?
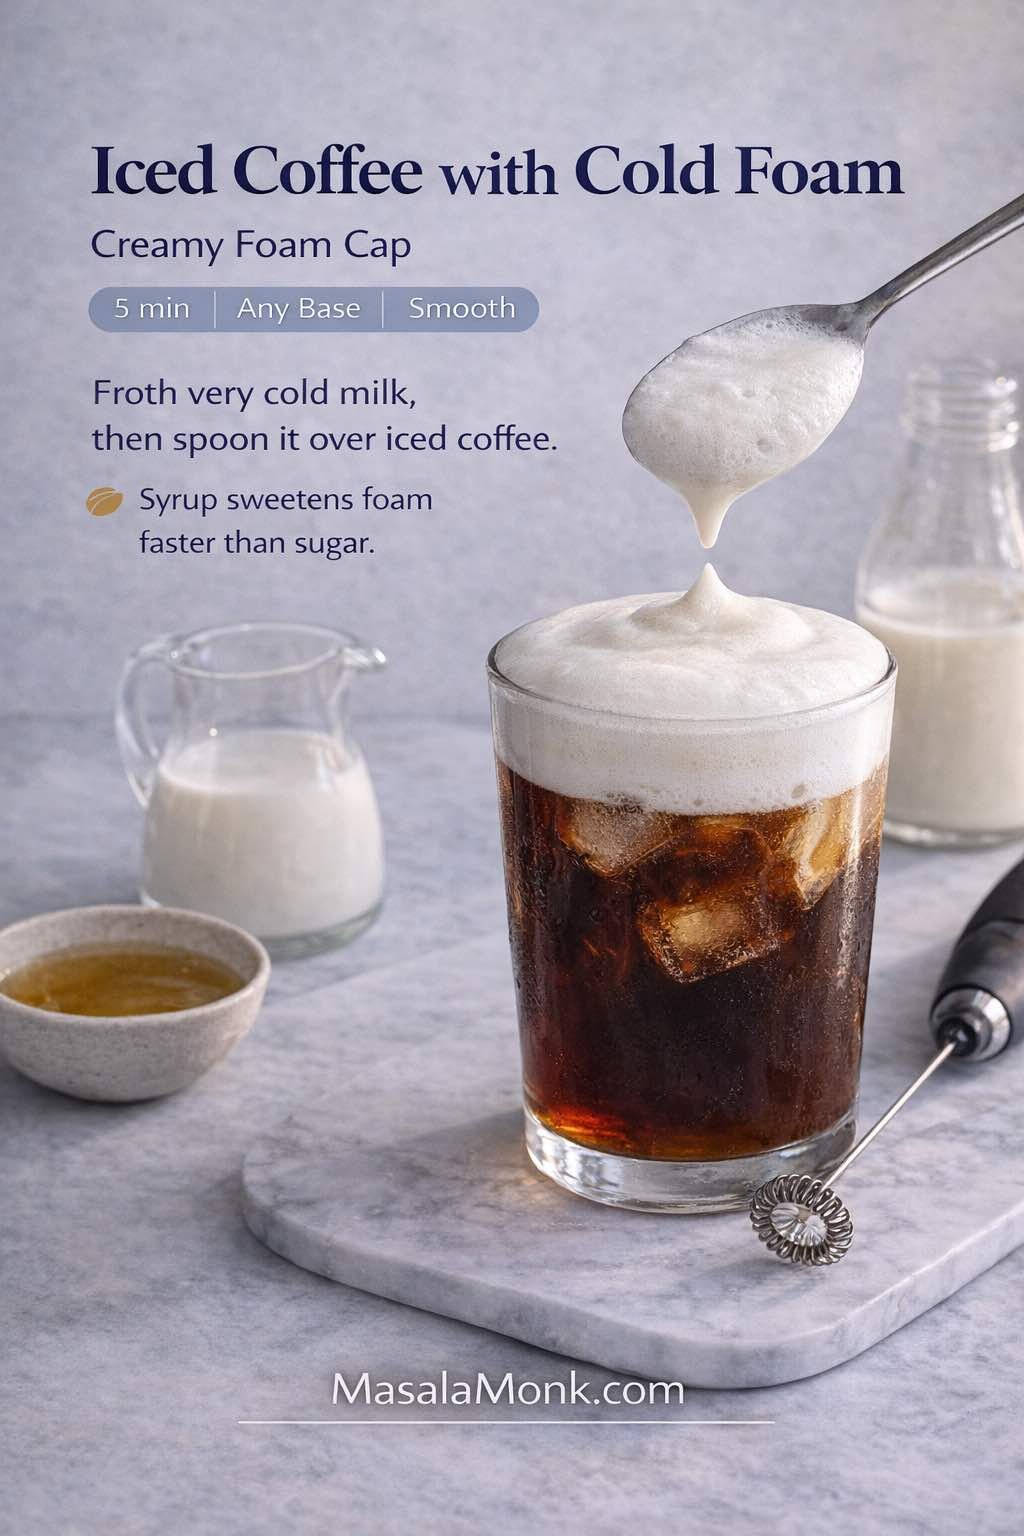
Quick definition first, because it trips people up. Cold foam isn’t whipped cream. It’s not steamed milk either, like you’d get on a cappuccino. It’s cold milk, frothed without any heat, until it turns light, airy, and thick enough to actually float on top of your drink instead of just sinking in.
That’s the whole trick, honestly. No heat involved anywhere in the process. Just air, and the right kind of milk.
The Ingredients You Actually Need
Here’s where people overcomplicate things. You genuinely need two ingredients, three if you’re feeling fancy.
- Cold, skim (nonfat) milk. This matters more than you’d think. Skim milk froths up thicker and more stable than whole milk, because fat actually works against foam. I know that sounds backwards, whole milk feels “richer,” but the fat molecules get in the way of the air bubbles forming properly.
- Simple syrup, or vanilla syrup. Just a teaspoon, honestly. Adds a light sweetness without overpowering anything.
- Oat milk (barista-style), if you’re dairy-free. Works in a pinch. The foam’s a bit lighter than dairy, but it still does the job.
That’s genuinely it. No cream needed, unless you’re going for the richer “sweet cream” style, which I’ll touch on further down.
Equipment: What You Actually Need
You don’t need a proper espresso machine with a steam wand. Promise. A few options, depending on what you’ve already got kicking around:
A handheld milk frother. Cheapest, easiest route. These little battery-powered wands cost next to nothing and genuinely do a great job. If you’re making cold foam more than once, honestly, just buy one. Total game-changer for about the price of a fancy coffee.
A French press. Already own one? Great, no extra purchase needed. Pour the milk in, pump the plunger rapidly for about 30 seconds, and you’ll get a surprisingly thick, stable foam.
An immersion blender. Same idea as the frother wand, just submerge it in the milk and let it run until things get properly foamy.
A regular blender or mason jar. Genuinely, even a mason jar with a tight lid works. Shake vigorously for about 60 seconds. It won’t be quite as thick, but it’ll still float on your drink.
The Actual Method (This Bit’s Quick)
- Pour your cold skim milk into a glass, jar, or cup, whatever your frother of choice fits into comfortably.
- Add your teaspoon of simple syrup (skip this step if you want it unsweetened, totally fine either way).
- Submerge your frother, French press plunger, or blender wand into the milk.
- Froth for around 15 to 20 seconds, until the foam thickens up and starts to stabilise. You’ll actually see it change, it goes from thin and bubbly to properly thick and glossy.
- Pour it gently on top of your iced coffee or cold brew. Don’t stir it in straight away, let it sit there looking pretty for a second first.
Honestly, that’s the whole thing. Maybe two minutes, start to finish, once you’ve got the hang of it.
My One Failed Attempt (Learn From This)
First time I tried this, I used whole milk because it’s what I had in the fridge. Big mistake. It frothed for a bit, sure, but it just… collapsed. Sank right back into the coffee within about thirty seconds, sad and flat.
Turns out the fat content genuinely works against you here. Skim milk has more protein relative to fat, and that protein is what actually traps the air bubbles and keeps the foam standing tall. Lesson learned. Skim milk, or a proper barista-style oat milk, every time now.
Want It Richer? Try Sweet Cream Cold Foam
If plain cold foam feels a bit too light for your taste, there’s a richer version worth knowing about, this is actually the one Starbucks uses for their signature drinks.
Instead of just skim milk, blend a mix of heavy cream, a splash of 2% milk, and a bit of vanilla syrup. It froths up thicker, tastes noticeably more indulgent, and honestly feels like a proper treat rather than just a topping.
A Few Flavour Ideas Worth Trying
Once you’ve nailed the basic method, playing with flavours is honestly the fun part.
- Vanilla sweet cream — the classic, hard to go wrong here.
- Salted caramel — a bit of caramel syrup plus a pinch of salt, genuinely addictive.
- Brown sugar cinnamon — cosy, warm-tasting, works brilliantly on a fall-flavoured iced latte.
- Mocha — cocoa powder plus a touch of caramel, tastes like a proper mocha but lighter.
Quick Troubleshooting Tips
A couple of things worth knowing if your foam isn’t behaving:
- If it’s collapsing fast, double-check you’re using skim milk, not whole. Fat’s almost always the culprit.
- Always start with milk straight from the fridge, cold milk froths noticeably better than room-temperature milk.
- Don’t overdo the froth time. Stop once it’s thick and pourable, over-frothing can actually break the structure back down.
Final Thoughts
Cold foam really isn’t the mysterious coffee-shop secret I once assumed it was. Two ingredients, a cheap little frother, and about two minutes of your time, and you’ve genuinely got café-quality foam sitting on your iced coffee at home.
Honestly, once you make it yourself a few times, that five-dollar upcharge at the drive-through starts feeling a lot less necessary. Give it a go, I think you’ll be surprised how easy it actually is.
Useful links:
- How to Make Cold Foam at Home — A Couple Cooks
- Complete Guide to Cold Foam — Weaver’s Coffee
- How to Make Cold Foam (No Frother Needed) — Ovalware
About The Author


